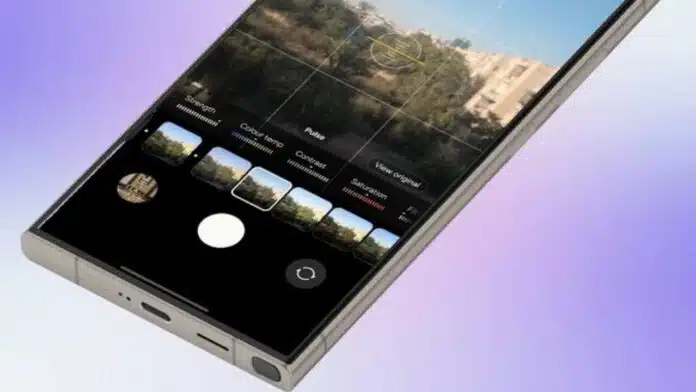
Creating a custom camera filter can significantly improve your photos. Samsung Galaxy phones offer a My Filters feature for this purpose.
This feature allows you to create unique filters using your favorite images. I will explain how to easily create, apply, and manage custom filters on your Samsung Galaxy phone.
How to Create a Custom Camera Filter on Samsung Galaxy Phone
Samsung’s My Filters feature makes filter creation easy and fun. Follow these steps to create your custom camera filter:
- Open the Camera app on your Galaxy phone.
- Switch to Photo mode to continue.
- Tap the Effects icon (three overlapping circles) at the top.
- Select Filters from the available options.
- Tap the “+” icon to add a custom filter.
- Your phone’s Gallery app will now open.
- Select a photo that has your desired style.
- A preview of your filter will now appear.
- Tap the preview to compare filter effects.
- Press and hold the preview for the original view.
Extra Customization Options:
- Drag the corners of your chosen photo.
- This helps focus the filter on key colors.
- Tap the filter’s name and choose “Rename”.
- After naming it, press “Done” to save.
Note: If the filter icon is greyed out, reduce your camera resolution. The 3:4 64MP mode does not support custom filters.
How to Apply Custom Camera Filters on Samsung Galaxy Phone
Once your filter is saved, applying it is simple. Follow these steps to use your custom filter:
- Open the Camera app again.
- Switch to Photo mode for filter use.
- Tap the Effects icon on the top right.
- Select your custom filter from the list.
- Frame your subject in the viewfinder.
- Tap the Capture button to click the photo.
Applying Filters on Existing Photos:
You can also apply custom filters to old photos. Follow these steps to apply or adjust filters:
- Open the photo in the Gallery app.
- Tap the Edit icon (pencil) to continue.
- Select the Filters icon (three circles).
- Choose your desired custom filter here.
- Adjust the filter’s strength using the slider.
- Tap Save to keep your changes safe.
Managing and Editing Custom Filters
Samsung offers useful options for managing filters. Here’s how you can adjust or delete them:
- Touch and hold any filter to delete or reorder it.
- To modify settings like contrast or saturation, choose your filter first.
- Tap the adjustment bar below the filter’s name.
- Drag the arrow to increase or reduce values.
- Tap the Reset button if you dislike changes.
Samsung allows you to save up to 99 custom filters. This feature ensures you always have creative options available.
Fixing Filter Issues on Samsung Galaxy Phone
If you face problems with your custom filters, try these solutions:
- Go to Settings and tap Apps.
- Tap the Sort icon and select Show System Apps.
- Find and select Filter Provider in the list.
- Tap Storage, then choose Clear Data.
- Select Delete to confirm and reset settings.
Important: Clearing data may delete your custom filters. Be careful while performing this step.
For software-related issues, check for updates:
- Go to Settings and select Software Update.
- Tap Download and install for updates.
- Some carriers may list this as System updates.
The Final Words
Samsung’s My Filters feature helps you create amazing photo effects. With up to 99 custom filters, you can enhance your pictures easily. Follow the steps above to create, apply, and manage your filters.
If issues arise, use the provided troubleshooting tips. Enjoy creating personalized filters to improve your Samsung Galaxy phone’s photography experience.
For the latest tech news, follow Hogatoga on Twitter, Facebook, and Google News For the latest tech-related videos, Subscribe to our YouTube Channel and Newsletter.


